Dock Timelapse
Record how your macOS Dock evolves and render Apple-style timelapse videos of it.
Runs on your machine from its package; the steps are below.
What it does
- Reads
- Writes
- High impact
At most: creates or changes data: records, files, settings.
What it costs
FreeOdel charges nothing per call. The publisher may charge for its own service.
Runs locally over stdio
This server isn't hosted — your MCP client launches it from a package registry. Use one of the commands below, or drop the config into your client (e.g. Claude Desktop).
Run
uvx dock-timelapse
MCP client config
{
  "mcpServers": {
    "dock-timelapse": {
      "command": "uvx",
      "args": [
        "dock-timelapse"
      ]
    }
  }
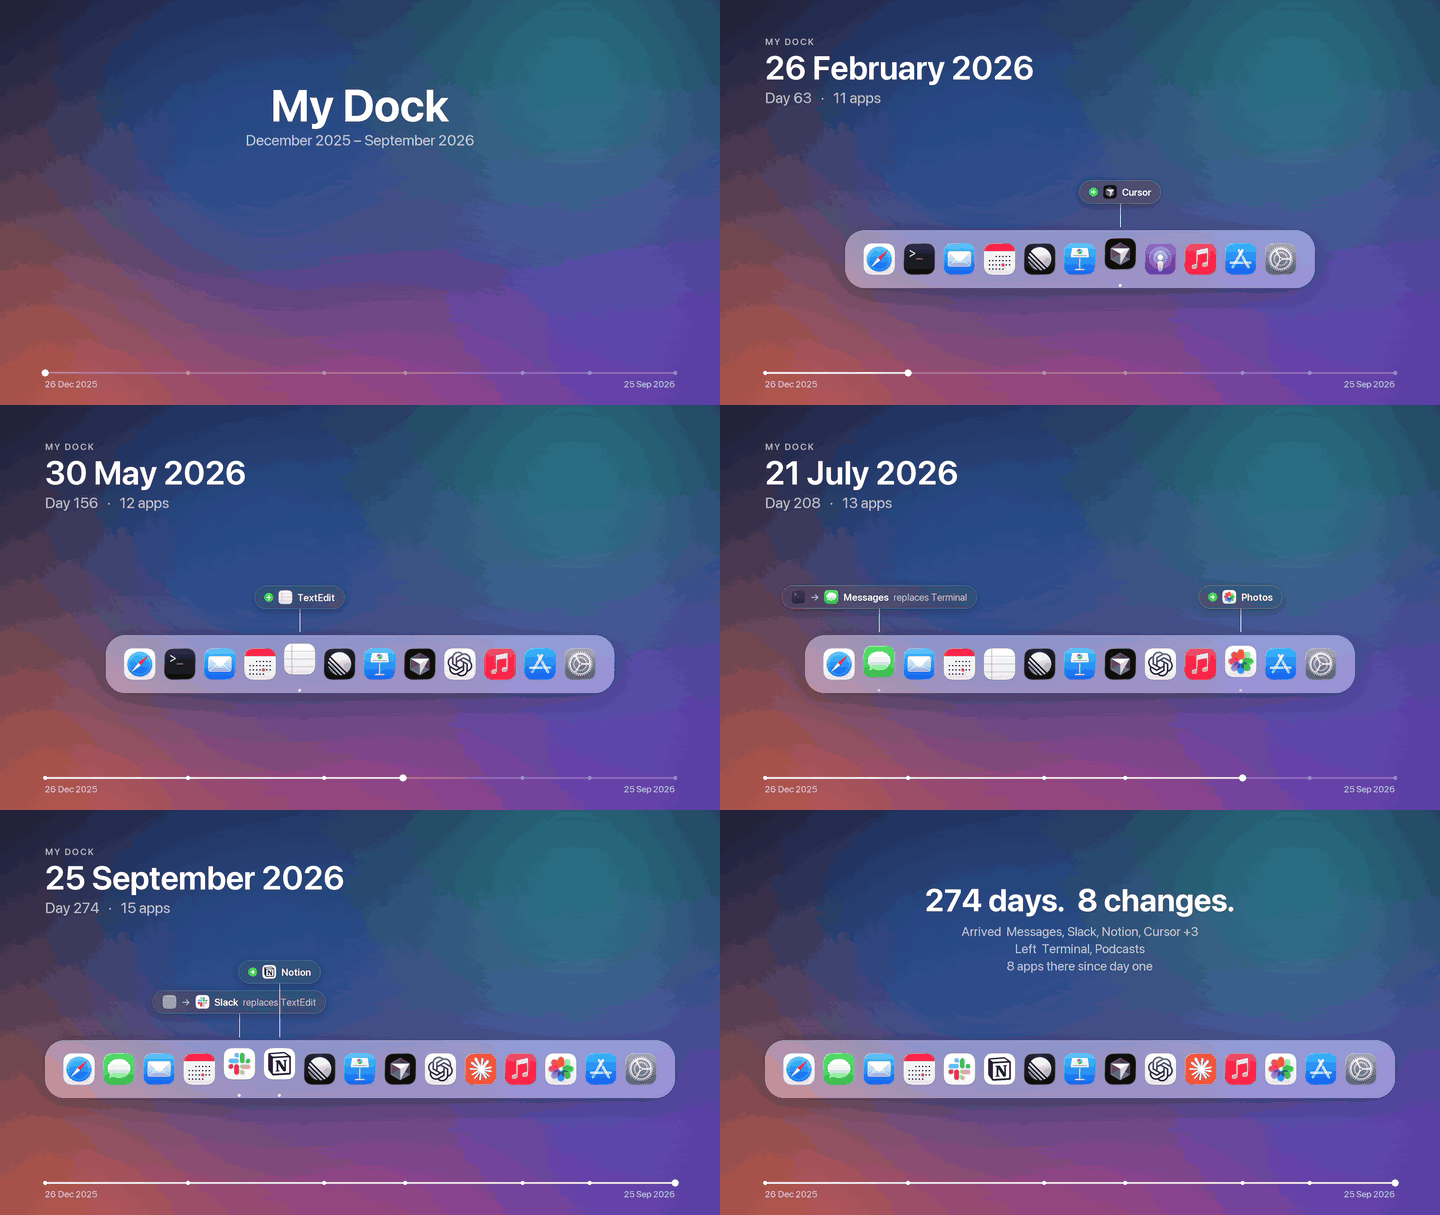
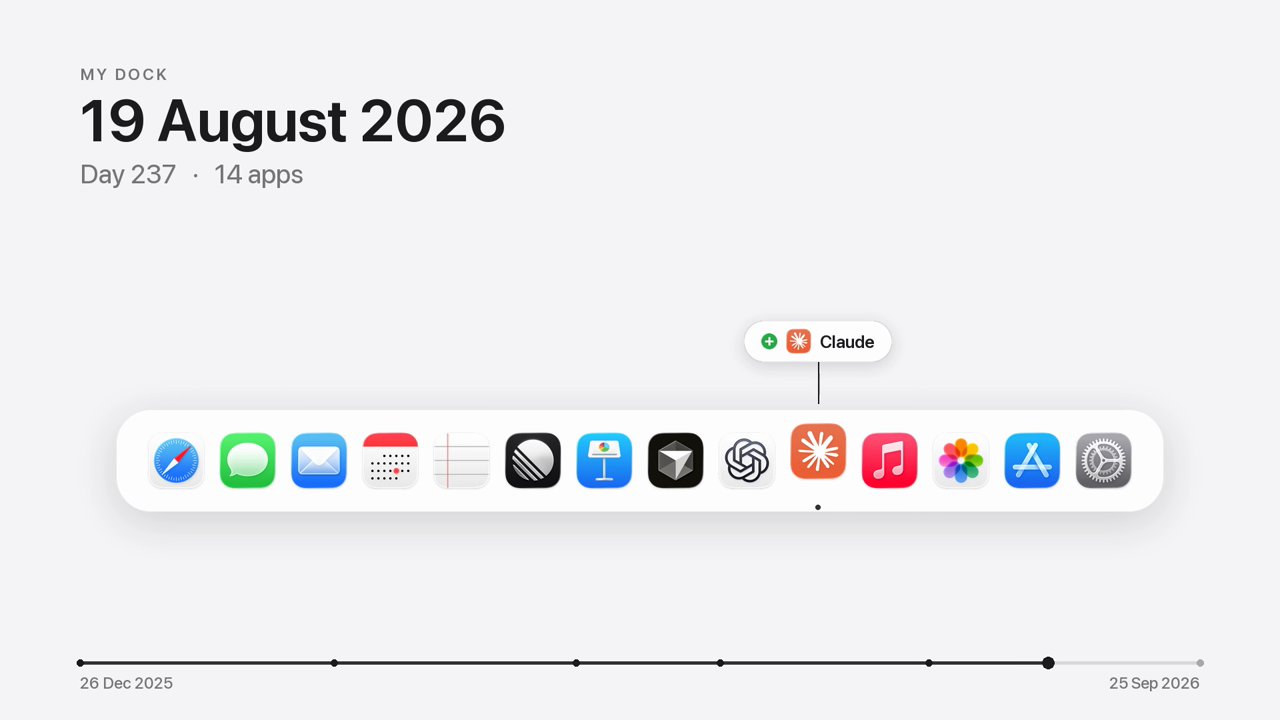
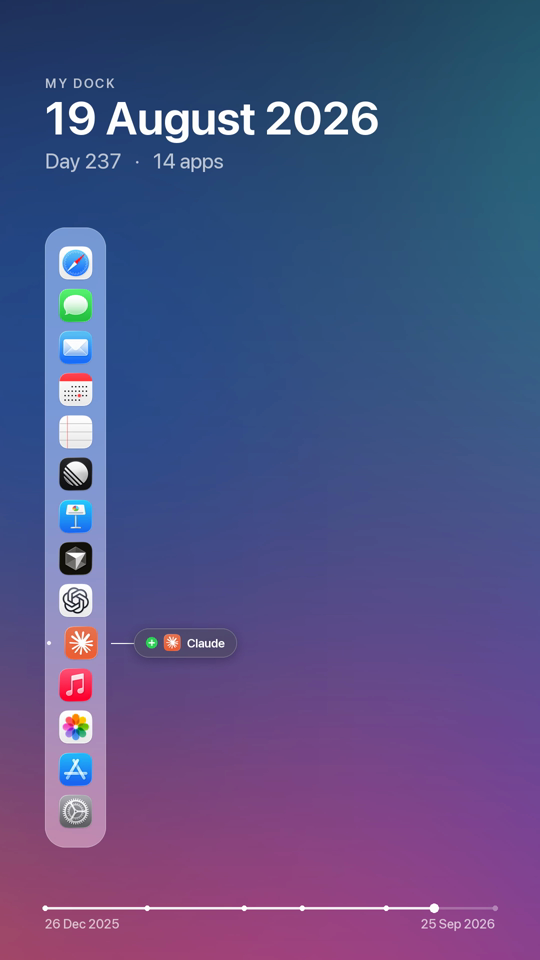
}Your Dock tells the story of the tools you live in. Dock Timelapse records it quietly every day and turns its evolution into an Apple-style timelapse: apps springing in, others handing over their spot, a day counter ticking, all drawn over your own wallpaper.
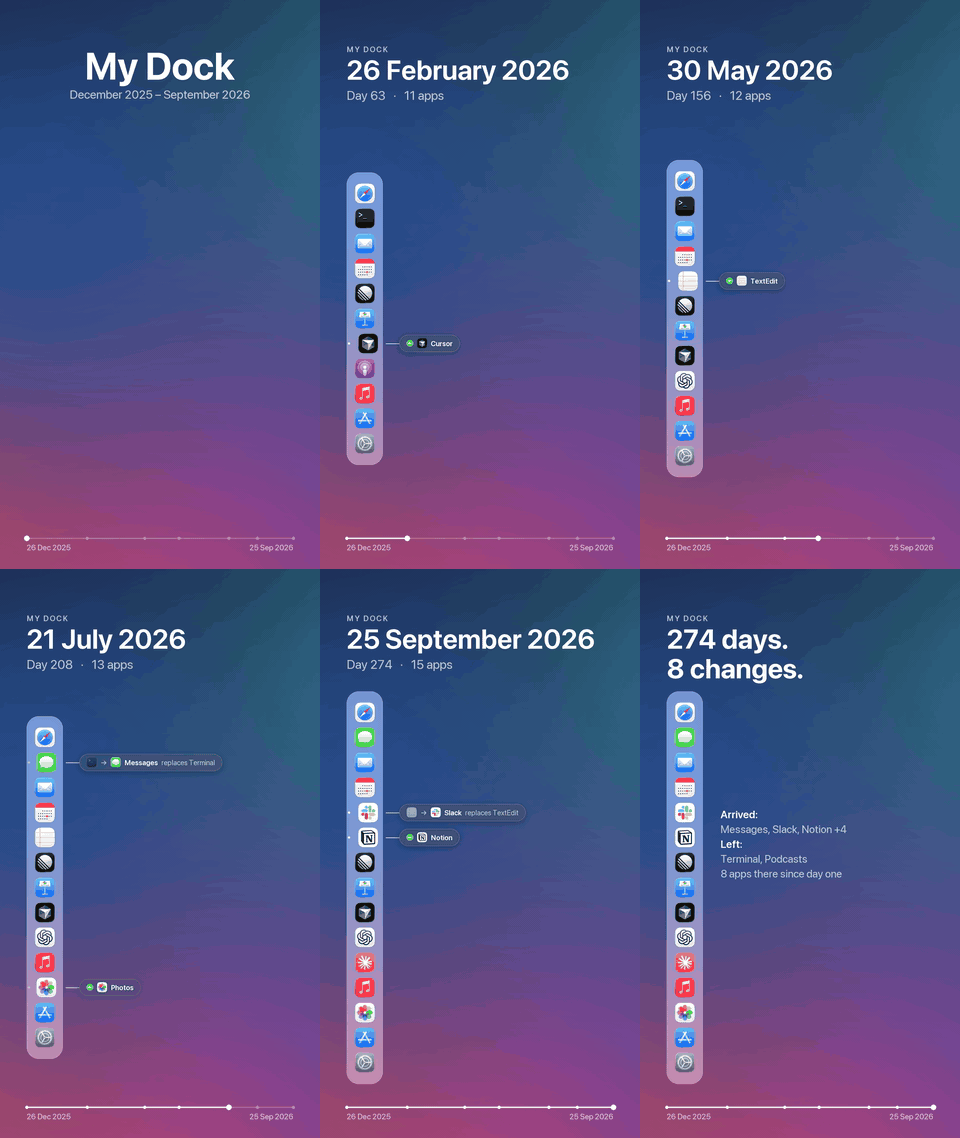
Demo render with an invented nine-month history. The real output is 1920×1080 and 1080×1920 H.264 at 60 fps.
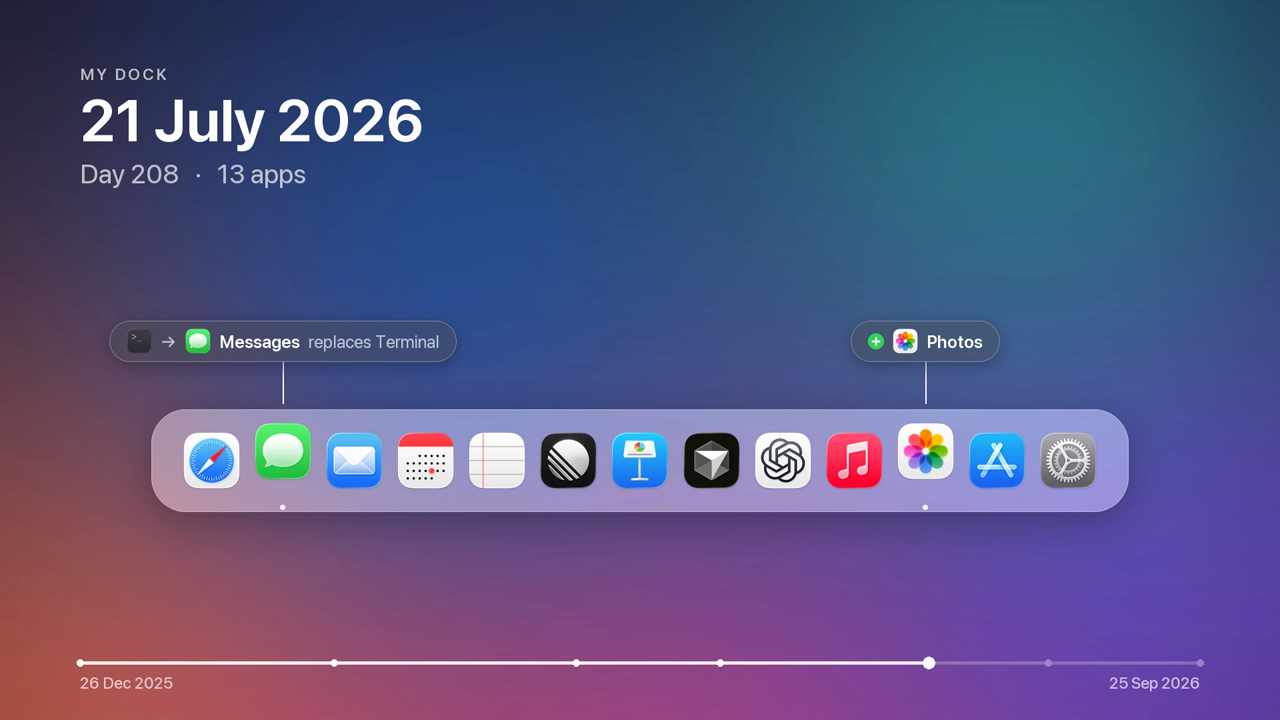
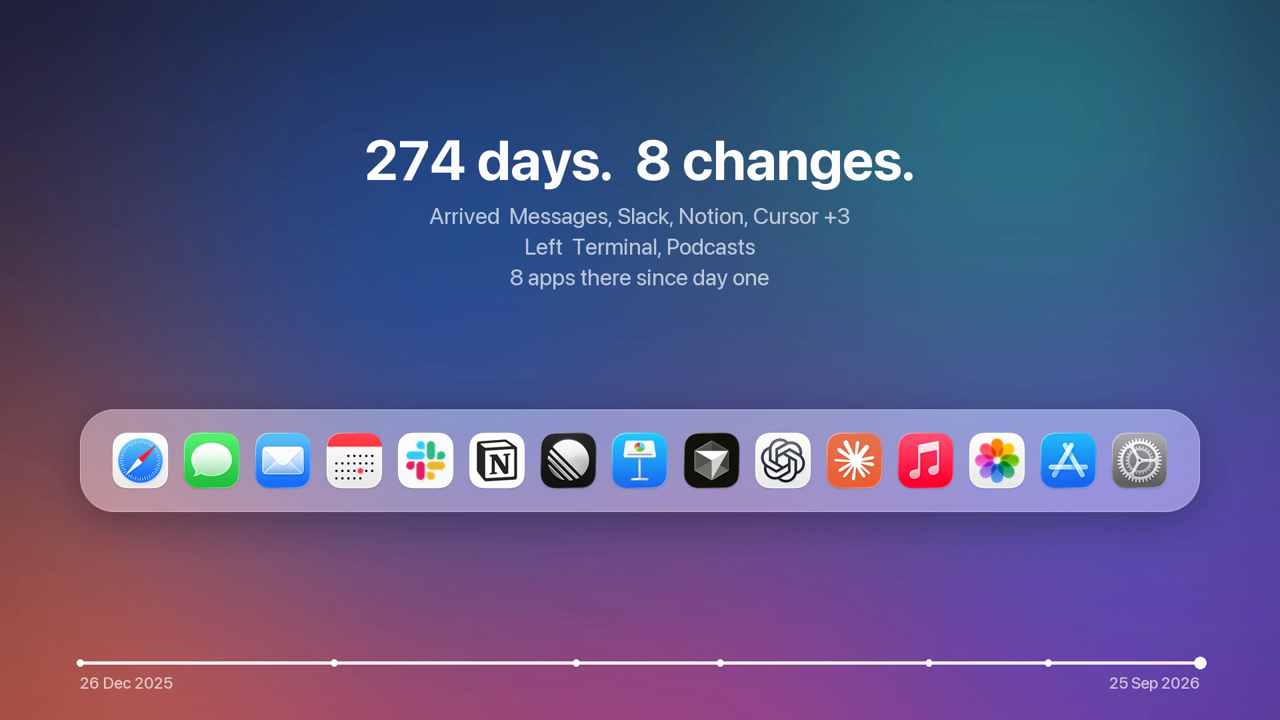
| Replacements and arrivals, labelled next to the icon | End card with the story in numbers |
|---|---|
 |  |
White background (--background white) | Portrait — a vertical Dock with labels alongside |
 |  |
How it works
- Records — an hourly background agent reads the Dock's own preferences (the pinned apps, up to and including System Settings). On each day the Dock changes it saves a snapshot: the app list, every icon in high resolution, and the current wallpaper. Optionally it keeps a cropped Dock screenshot too.
- Renders — the videos are redrawn from that data: a glass Dock over your blurred wallpaper, spring
animations, change labels (
+ Linear,Cursor replaces Xcode), the date and day counter, and a progress bar scaled to real calendar time. - Previews on day one —
previewinvents a plausible past that ends with your real Dock, so you can see your video right away.
Requirements: macOS and uv. ffmpeg comes bundled.
Install
Command line
uv tool install dock-timelapse

dock-timelapse install        # start recording (hourly agent, one snapshot per day of change)
dock-timelapse preview        # see your video now, with an invented past
dock-timelapse render         # later: the real timelapse → ~/Movies/Dock Timelapse/
Claude Code
/plugin marketplace add bcldvd/dock-timelapse
/plugin install dock-timelapse@dock-timelapse
The plugin brings the skill and the MCP server. Then just ask: "start recording my Dock", "make a timelapse of my Dock", "which apps did I add since June?"
Codex, Cursor, Gemini CLI, Copilot and other agents
The skill follows the open Agent Skills format:
npx skills add bcldvd/dock-timelapse -y
MCP server (Claude Desktop, Codex, Cursor, VS Code, …)
{
  "mcpServers": {
    "dock-timelapse": {
      "command": "uvx",
      "args": ["dock-timelapse", "mcp"]
    }
  }
}
Codex (~/.codex/config.toml):
[mcp_servers.dock-timelapse]
command = "uvx"
args = ["dock-timelapse", "mcp"]
Tools: dock_status, current_dock, dock_history, install_recording, uninstall_recording,
capture_now, render_timelapse, render_preview, render_frame.
Usage
dock-timelapse status                                     # recording state + every snapshot and its changes
dock-timelapse render --format portrait                   # landscape | portrait | both (default)
dock-timelapse render --background white                  # wallpaper (default) | desktop (sharp) | white
dock-timelapse preview --demo                             # a generic demo Dock
dock-timelapse still --t 2 5.5                            # single PNG frames
dock-timelapse install --screenshots                      # also keep Dock screenshots
dock-timelapse uninstall                                  # stop recording, history stays
Screenshots use the Screen Recording permission: install --screenshots prints the Python path to add in
System Settings → Privacy & Security → Screen & System Audio Recording. The videos only need the Dock data,
so this step is optional.
Data lives in ~/Library/Application Support/dock-timelapse/ (snapshots.json, icons, wallpapers, and
capture.log).
Development
uv sync
uv run pytest
| module | role |
|---|---|
dockdata.py | parse Dock prefs → ordered apps, up to System Settings |
diff.py | added / removed / replaced / moved between two Docks |
store.py | snapshots on disk, one per day of change |
capture.py · visibility.py · macos.py | one capture attempt; Dock visibility; the macOS calls |
agent.py | the launchd agent |
timeline.py · layout.py | pure animation model and geometry |
render.py · video.py | Pillow frames → ffmpeg H.264 |
poc.py | invented histories for previews |
mcp_server.py | MCP tools |
License
MIT